Plastering
Hairline Cracks In New Plaster? Here's Why
Written by Dale Richardson - Updated: June 23, 2023
Stay Updated with Expert Tips!
Love our DIY guides and solutions for common household problems? Get expert advice, tips, and exclusive offers in our newsletter. From garden hacks to home maintenance and special deals, we've got it all. Join our growing community now!
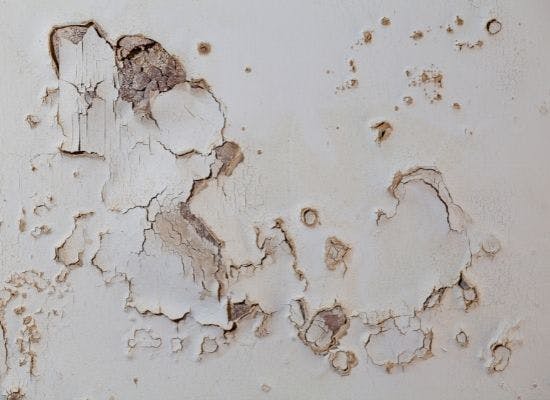
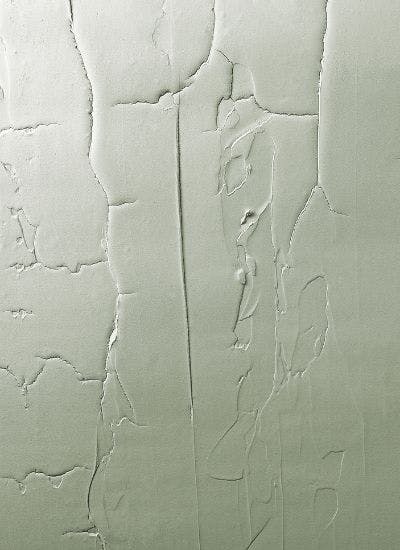
New plaster is always nice to see in your home. It's a fresh canvas just waiting to be covered. But if you're noticing hairline cracks in new plaster, that's bad news. Not only did you likely pay a good amount to have it installed, but now it's failing! And if you put in the plaster yourself, it can be a big blow to the ego to see it cracking like that. Luckily you can fix them and ensure nobody is the wiser.
Fixing hairline cracks in plaster is an entirely achievable thing to do - it's not the end of your new wall as you know it.
Now let's get right into it, as this is a fun little project.
READ NEXT: Can you plaster over wood?
Cracked Plaster: Why?
First thing first, why did your plaster crack? There are a bunch of things that could have caused it, but it all boils down to a few things: poor installation, environment, or foundation shifts and settling. Let's dive into those really quick.
Poor Installation

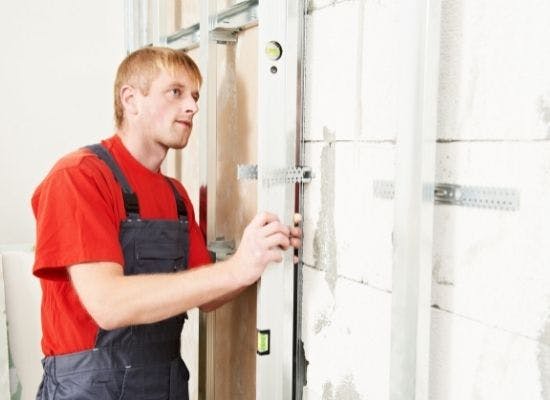
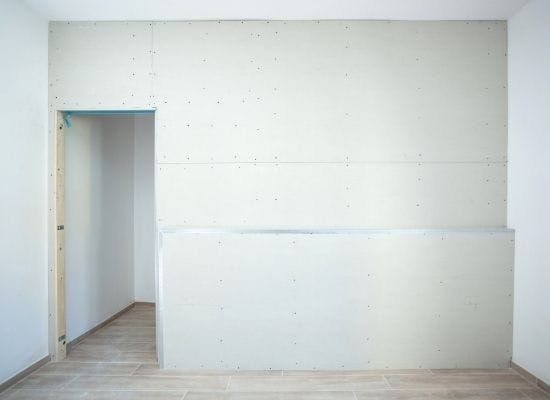
There are a lot of things that can go wrong with plaster installation, as easy as it may seem. Depending on the surface your plaster was applied to, there could be varying causes. Was the plaster applied onto a wood surface? Then whoever installed it forgot to properly prepare the surface with primer and a good key. If it was put onto masonry, then they forgot metal mesh wiring to provide a good substrate for the primer to bond onto.
You could, alternatively, have had the plaster installed on concrete. If the concrete was mixed poorly, your plaster can break down the cement and cause corrosion. The corrosion will spread, eventually resulting in cracks in your plaster.
These are a lot of words to say a little - in short, poor installation results from a step being skipped or done halfway at some point in the process. While that's frustrating, it really doesn't matter. You have a cracked wall, and now it's your problem to fix.
READ NEXT: Dot and dab - thickness and how to apply.
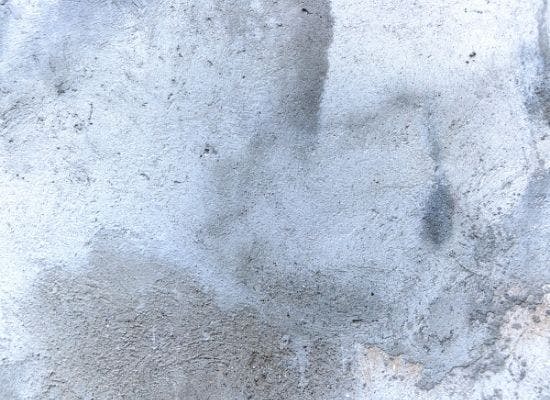
Environment
While some of these are less likely than others, it's worth noting them all. Plaster is very susceptible to moisture and drastic changes in temperature. If your environment is a particularly damp one or sees quick changes from extreme hot to extreme cold, that could be the cause.
The plaster itself could have shrunk more than expected (especially caused by drying at improper temperatures), or even been affected by vegetation. If you have large trees or vines in or near your home, it's possible that they're growing into your plaster - keep in mind, this is an exception, not a rule.
It's good to have your home inspected if you suspect this is the cause, as there could be unseen damage elsewhere.
Settlement and Foundation Shifts

This is something that you really just can't avoid, unfortunately. Foundations shift (though not a lot, usually) as part of your home settling. This is exacerbated by events like earthquakes and flooding, though I'm hoping for your sake that you haven't experienced either. The more likely cause is settlement. As your home sits in place over the years, it settles. And no, I don't mean it found a nice partner that's "below its league."
Settling occurs naturally over time, shifting as it gets more "in place." Generally, you can spot settlement cracks by vertical cracks that run along your home's exterior. While settlement cracks can appear inside, they're more common on the exterior of homes.
If you think this is the cause, it's a good idea to have your home inspected.
While settlement is normal, it can place undue stress on a home if left ignored - especially if the rest of your home was made as shoddily as the plaster was installed.
READ NEXT: How to fix bad plastering.
How to Repair Hairline Cracks in New Plaster
In general, it's always going to be easier to repair small cracks, but there are two things to keep in mind. If you have a hole (specifically a large one) in your wall, you'll need a professional to take a look. Holes generally require that you reinstall all of the plaster and support, as they're a bit harder to patch.
Second, if you suspect that your plaster is breaking away from the lath (it's sagging, for example), then again, call a pro. If the plaster separates from the lath, it'll need to be fully replaced. I know, it's not what you wanted to hear - but it's what you needed to hear. If you're not sure, give your plaster a little push. If it moves as if it's about to break away, it's time for help.
Now we get to the fun bit - the fix!
The Process

Now we get into the actual process:
- Begin by widening the crack. I know it feels counterproductive, just trust me. Use a putty knife and open the edges just slightly . Brush off any dust that's left over once you've completed this.
- Measure out strips of fibreglass mesh tape that will cover the crack. Cut with scissors to ensure it's an even tear - ragged edges will show more later down the line.
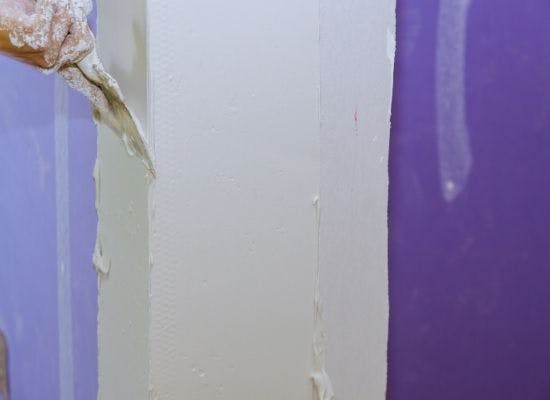
- Apply joint compound to the craack in an even, thin layer.
- Apply a second layer of joint compound to the tape itself, going ~5 cm beyond the tape's edges. Sand with fine sandpaper.
- Prime with latex primer in a thin, even layer.
- Apply topcoat of paint.
- Success!
Read Next: How to get paint off uPVC.
An Alternative Method

It's up to you which method you use. I've only ever used the above one, though I've heard success stories using the "inverted V" approach.
- Open the crack into an inverted V shape. Clean all excess dust and dirt off.
- Cut strips of fibreglass mesh tape, just like above. Attach it to the crack's length.
- Wet the lath and plaster around your hole.
- Apply at least 2 layers of joint compound over the crack and sand it down until smooth.
- push the compound down with a trowel to ensure it's attached firmly to the lath.
- Repeat step 4.
- Apply one last layer of joint compound and make it as smooth as possible. You're painting right onto this, so be careful.
- Paint as needed.
- Success!
Repairing Large Cracks
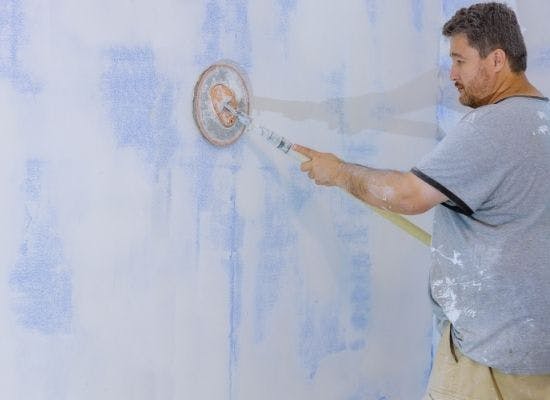
- Drill 2.54 cm holes roughly 10 cm from each side of the crack's edge, 6 cm apart.
- Apply adhesive along the holes using a caulk gun, removing excess with a sponge.
- Secure washers into the hole with a drywall screw on each end.
- Dry adhesive, remove washers.
- Patch with drywall knife.
- Install crackstop fabric repair mesh over the whole damamaged section.
- Coat over the top with plaster and sand.
- Paint.
- Success!
Final Thoughts
Hairline cracks in new plaster are frustrating, no matter how you look at it. One way or another, you're fixing a mistake that shouldn't have happened, which nobody wants. Just remember that before you give up, you should inspect the area. Ensure that environmental damage or settling isn't causing more issues in your home, and then get the cracks patched.
You can patch most cracks at home (with the right tools and some time), but it's also entirely reasonable to hire a professional. Just... maybe don't hire the people who did it the first time, yeah? It would be awkward to have to make a third call to have them fix the fix.
One More Thing Before You Go!
Craving more DIY insights? Don't miss our expert guides and exclusive deals. Subscribe now and get the best of home and garden tips straight to your inbox. Join our community and stay in the know!
Get Cashback Faster & Earn Free Fraffle Tickets
Shop at your favourite stores and enjoy cashback in days, not months. Plus, sign up today to get 5x Free Fraffle tickets!


Related Topics To Read Next